Professional Record Deep Cleaning: What You Need To Know
Professional Vinyl Record Cleaning: What You Need To Know
Do you know the culprit behind that crackling noise you sometimes hear when playing vinyl records? It’s dirt and dust. They get lodged in grooves over time, causing a scratchy, popping sound as soon as the turntable’s stylus hits them. But the sound isn’t only the issue. 
Dirt and Dust—Threats to Your Vinyl Record Collection
When the stylus hits the dust particles, it creates friction and heat that blast mini holes in the vinyl grooves. That can cause permanent damage to your vinyl records. The constant friction can also wear down the stylus earlier than expected, forcing you to replace it immediately.
That’s why keeping your vinyl records pristine is a must. But we’re not only talking about regularly cleaning your discs with an anti-static brush. Your growing or precious vinyl collection also requires deep cleaning, and here’s what you need to know about this method.
4 Things You Should Know About Record Deep Cleaning
- Deep cleaning starts by removing static & dust and inspecting the record.
Professional deep cleaning of records often starts with dry cleaning. Use an anti-static brush and microfibre cloth to sweep away the first layer of filth carefully. Then, once the initial layer of grime is gone, it’s time to look at the dirt lurking beneath. You may need to find a well-lit spot to inspect the record for any greasy patches, fingerprints etc. You may also have to rotate the disc to vary your viewing angle and ensure you don’t miss any dirt or grease.
Problem areas may need several wet cleaning treatments, so it’s worth performing the inspection and cleaning to know exactly what you’re dealing with in the next several steps.
- Spot-cleaning the problem areas with a liquid solution does the trick.
Once the problem sections are identified, the next step is intensive cleaning using a solution. You can find vinyl cleaning kits that include a liquid solution, but the good thing with professional deep cleaning services is that they often have special laboratory solutions.
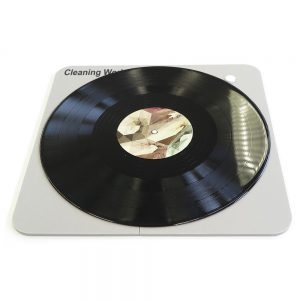
The first step to wet cleaning is placing the record on a flat, solid and clean surface. It’s better if you have a dedicated record cleaning mat, but a table or desk is fine as long as it’s non-abrasive. Also, make sure that the surface can handle your vinyl cleaning solution.
Just a quick note before applying the liquid solution: avoid touching the record’s inner label with any liquid. Loosening the label glue or simply staining the label can ruin the aesthetic quality of your vinyl record. You can buy a label protector to avoid this issue. Still, while wet cleaning, make sure the liquid solution doesn’t leak into or underneath the label protector.
Now, proceed to spray the solution onto the problem areas. If your liquid solution doesn’t have a spray function, you can dab the liquid onto the record using a microfibre cloth.
Next, once the solution is on the surface of your record, use a microfibre cloth to apply gentle pressure in circular movements. That way, you can rub away the blemishes. Make sure not to scrub across the grooves; use the record’s concentric arcs as a guide instead.
- Drying the record after cleaning it is critical.
After wet cleaning, you have to dry the record. This stage is critical, though. If the record is not completely dry before returning it to the sleeve, there’s a risk of mould and mildew. On the other hand, if it’s left drying in the air for too long, it may attract tons of dust again.
You can leave your record in a drying crack briefly. Then, use a different, clean microfibre cloth to dry the disc completely before storing it back in its sleeve.
- You may have to brush the record before returning it to its sleeve.
Records are typical dirt magnets. In that period between drying your record and tucking it away, the record may attract some dust particles from the air. So before returning it to its sleeve, give it one final light sweep using your anti-static brush.
Leave Deep Cleaning of Your Records to the Pros
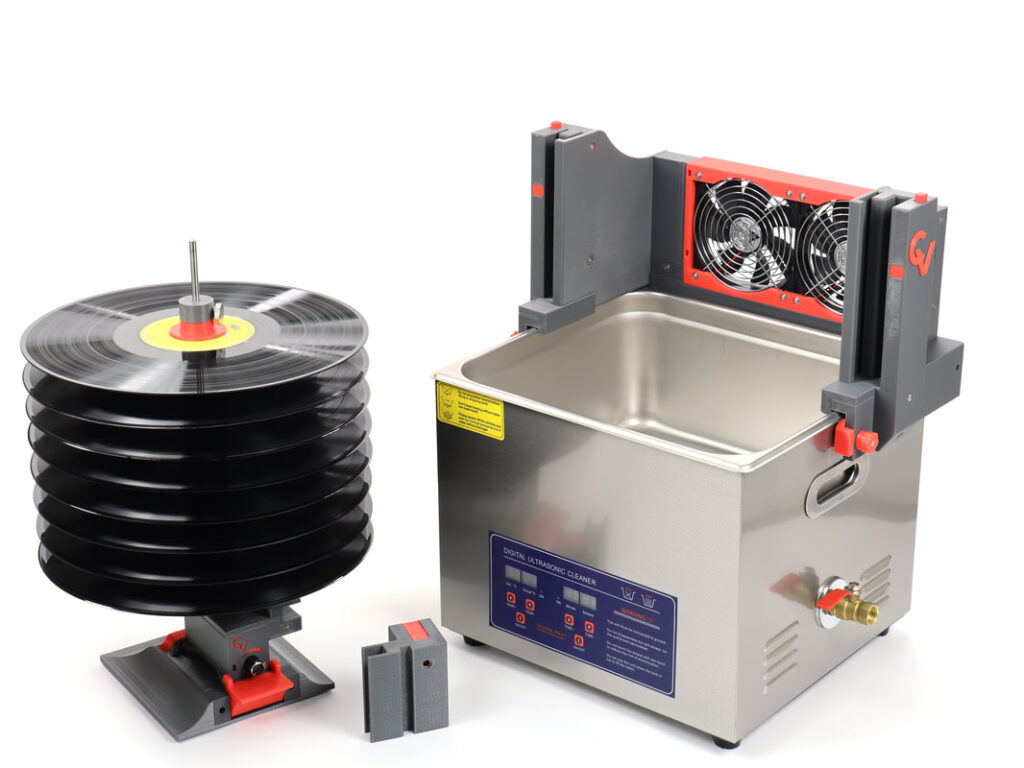
 While you can do the deep cleaning yourself using the tips and steps above, it’s still best to leave it to the pros. At AudioZomba, we perform a professional six-stage vinyl record deep cleaning. Our team uses our own special laboratory grade solutions and top-quality Professional multi-frequency Ultra-sonic cleaning machines. We’re also experienced in handling the delicate ‘white glove’ stages, including wet cleaning, drying & static removal.
If you want your vinyl records to be deep-cleaned the right way, reach out to us today.


